
From Broken China to Beautiful Mosaics: Inside Jax Glass' Creative Process
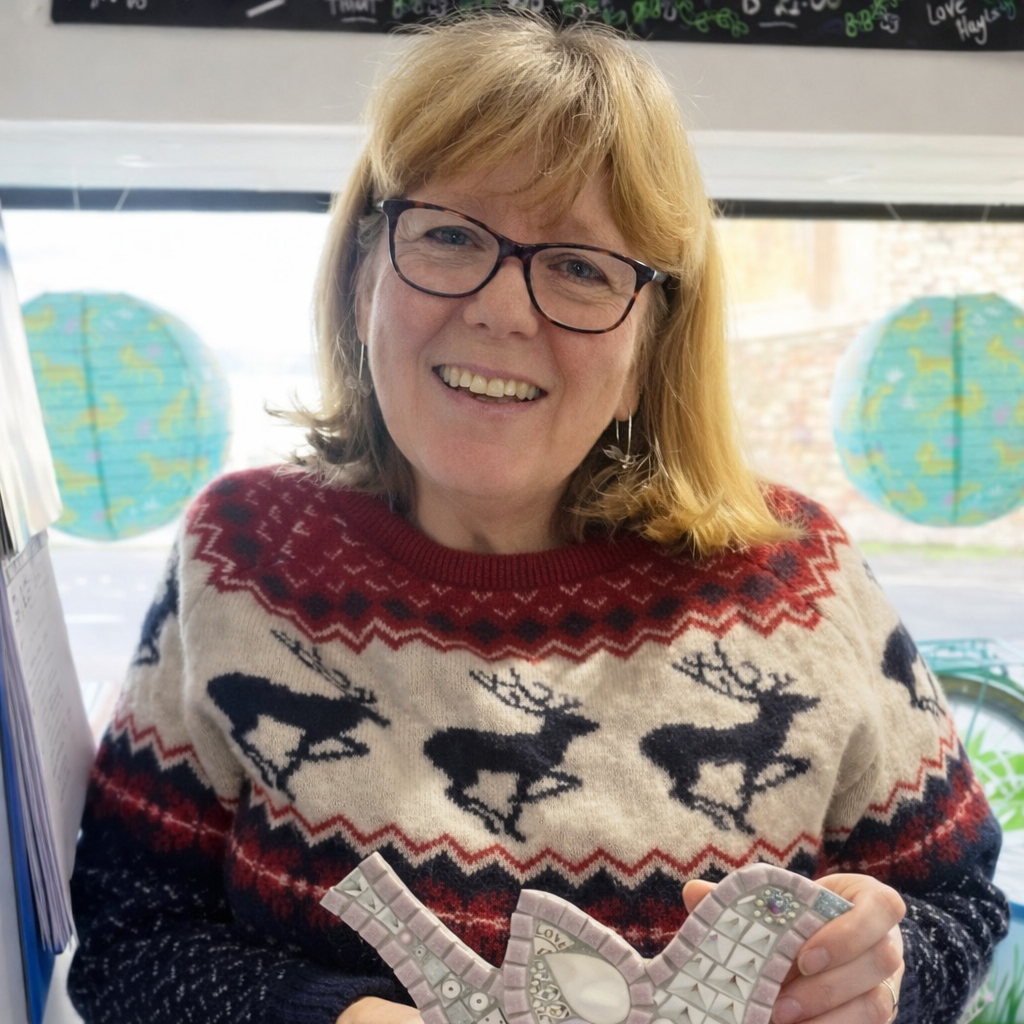

Hi, I’m Jax, and I run the mosaic workshops at Hayley’s CIC. I’ve been asked to write a blog about my mosaic process, and so this is a step-by-step account of how I generally go about my craft.
This example of my work was made back in 2017, as it is one of the few pieces where I have actually taken photos of the work in progress. I confess to becoming so engrossed that I rarely remember to do this!
Once I have drawn my design, the substrate is cut to size and shape. For this piece, I used 9mm exterior ply as it was fairly large and needed to be stable. By using exterior ply and coating the finished piece with multiple coats of yacht varnish, the thought was that it would be suitable for outdoor use. My experience with this has been that it does last for several years, but exposure to rain will eventually cause delamination of the plywood. I therefore recommend that any wood substrate should be for interior use only.
I like to start the mosaic with the eye and work out from there. It’s amazing how quickly I can see the personality of the piece. I use a mixture of glass and vintage crockery, which is cut using wheeled nippers. The crockery is chosen for colour, pattern and texture. I love that the patterns on cups and plates can be used to represent whiskers, cheeks, fur and so on, but I do like to use glass for the eye as it creates the perfect glint. My favourite crockery to work with is Kathy Winkle from the 1960’s and 70’s, mainly for the colour and design but also for the nostalgia (I’m giving away my age here!)
I don’t tend to work to a pre-determined plan, I prefer to find my way and flow (andamento in mosaic terms). The gaps between the pieces (interstices ) are later filled with grout and can be as much part of the design as the ceramic pieces are (tesserae). A mosaic made from broken crockery and china is called pique assiette.

I have found it to be very important to keep the outlines well defined to enable the mosaic to be clearly understood when completed. Changes in the size of the tesserae help with this, as do contrasting tonal changes. Taking photos in black and white can help to check this as I go along.
Once the head and ears had been completed, I outlined the body and worked on the hind leg. For this, I created a spiral effect starting with a central motif and then working outwards with the tesserae becoming larger the further out I worked. Circle patterns cut from crockery formed the tail and the central body.
To aid contrast and definition, I used stained glass, mirror glass, glass tiles and beads for the moon. Again, I concentrated on the flow of the pieces, hinting at the light changes which cross the moon's surface. Wood glue was used throughout, and I added a special glitter suitable to be incorporated into the grout for extra sparkle.
This piece took me approximately 5 days to complete, and I loved every minute. Time seems to vanish when lost in mosaic work!
Unfortunately, it’s not possible to work on such a large-scale project at Hayley’s; however, if you fancy a go, do look out for my mosaic workshops. They are either 2 or 4 hours long, depending on the project. You make your mosaic during the session, then I will grout it for you and return it to Hayley’s the following week. Be aware, though, that making mosaics can become extremely addictive!


Comments